
SUPPLIES NEEDED

-good-sized piece of cardboard...I use old cereal boxes that I store in this mess!

-Two kinds of fabric, one for the outside cover and one for the inside cover
-Hemp thread
-One button
-Paper to fill the inside of the journal (about 20 sheets)
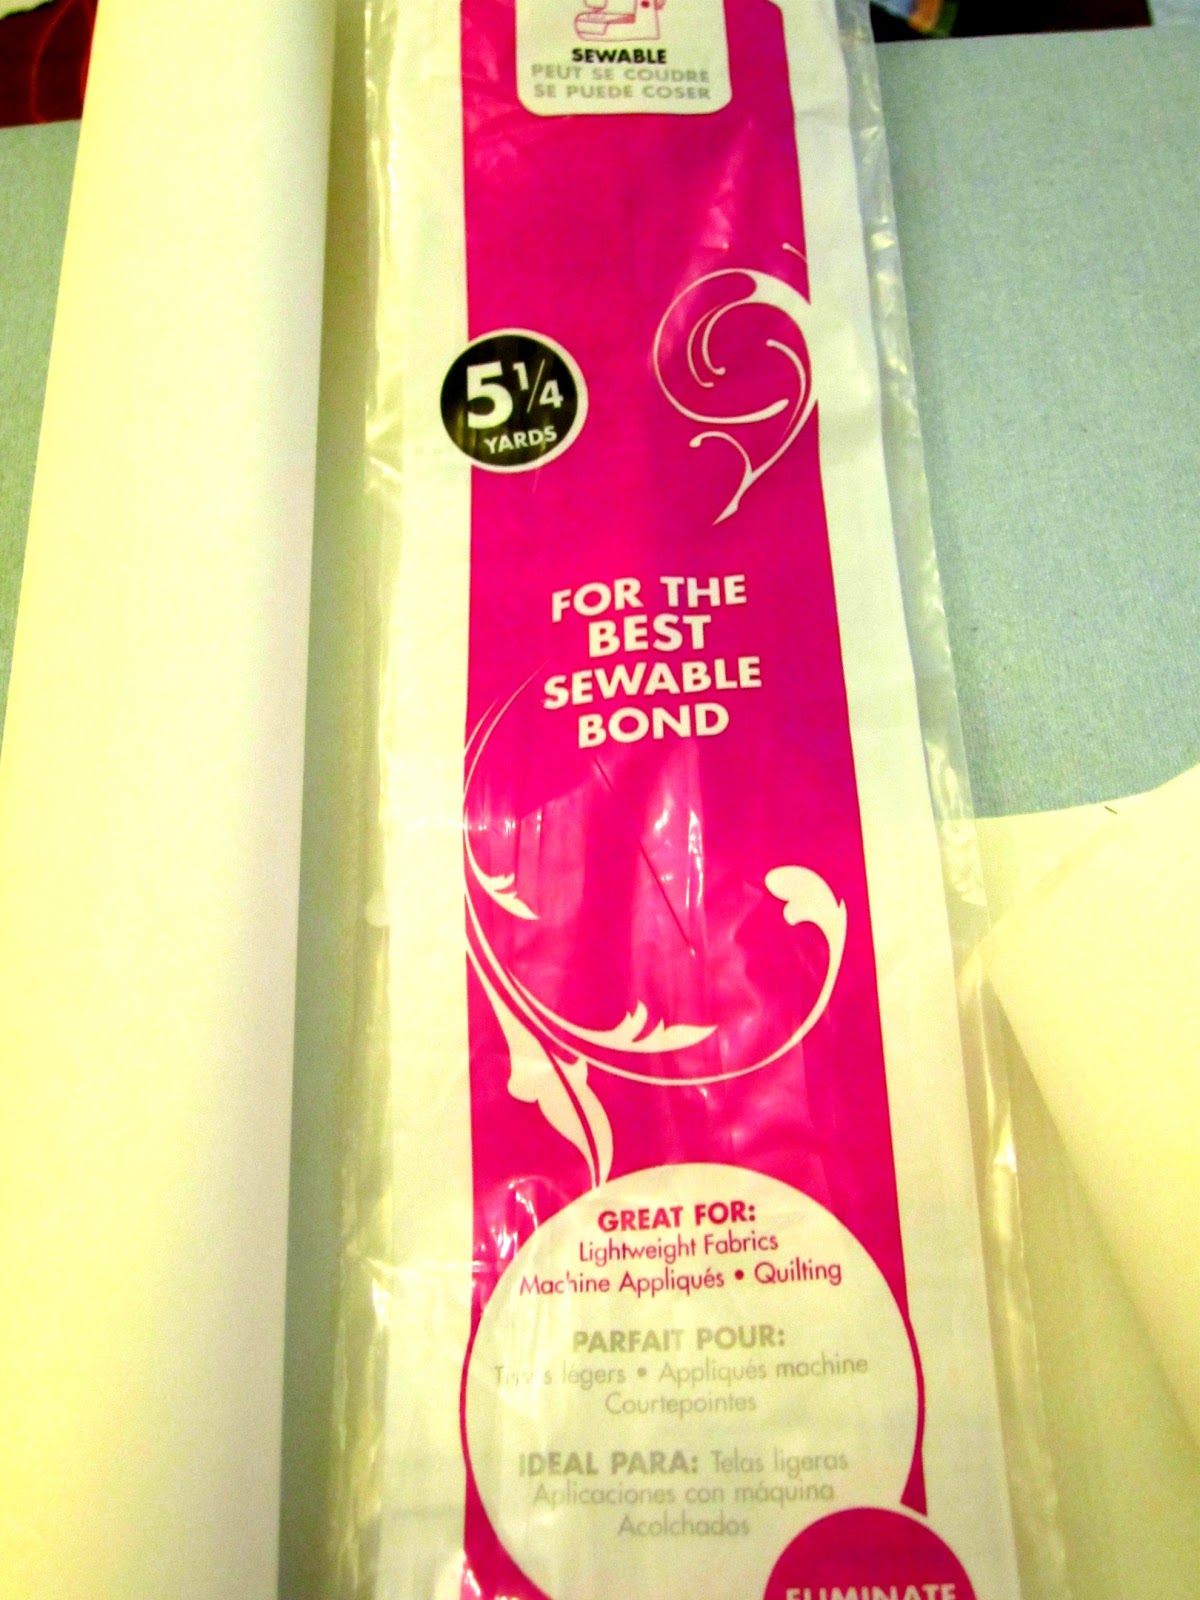
-Heat Bond

-Awl
-Tapestry Needle
-Beeswax for threading
-Handy Dandy Iron
THE STEPS
1. First you'll need to decide what kind of notebook you want to make, I made this one as a flip book style.

2. I have little notepads that I bought to fill journals so I just tear about 20 sheets out.
3. Using the paper as a guide I measure the cardboard so that there is a small boarder around the paper and enough for a front and back cover. (I'm not really into exact measurements..so sorry if this is irking to you!)
4. Measure the cover fabric using the cardboard you cut out. Leave a half inch border around the cardboard.

5. Cut out a piece of Wonder Under the same size and your cover fabric.
6. Place the backside of the fabric and the rough side of the Heat Bond together.

7.Then iron (with the hottest setting and no steam) with the smooth side of the Heat Bond facing up (as pictured above).
8. Once it has cooled a little bit, peel off the Heat Bond, make sure that the clear adhesive from it is sticking to the fabric.

9. Next, Iron the Fabric to the cardboard sticky side down.

10. Once cooled, flip it over and iron down the edges to the other side of the cardboard.

11. To keep the fabric from looking bulky at the corners, snip away a little square so that it can be ironed down smoothly.

12. Now, take the second piece of fabric for the inside cover and cut it slightly smaller than the cardboard so that the pattern fabric will show.

13. Then cut a piece of Heat Bond to fit the fabric and repeat steps 6-8.

14. Iron it on.
Here's what it should look like so far:

Inside

Outside
Continuing On....
15. Next we need to attach the paper, so place it where you'd like it inside the cover.

16. Hold the paper and cover tightly together, while piercing two holes through the paper and cover.

17. Make the holes a little bigger by working the awl into the paper and the fabric separately.
18. Next, take a long strand of hemp thread and work the beeswax into the end to make it easier to thread the tapestry needle.

19. Thread the tapestry needle.
20. Now you can bind the paper and the cover together by weaving in and out of the two holes.

21. Finish by tying a bow on the paper side to secure it. (unfortunately I forgot to take a picture of it with this journal but here is one from another journal I've made).

22. Next, you'll attach the button to the front of the journal.
23.Place the button where you want it, use the awl to poke holes where the button holes are.

24. Once again, use the beeswax to help thread the tapestry needle and sew the button on.

25. Take the awl and piece a hole in the back cover of the journal and thread a long piece of hemp through to wrap around the button for closure.

26. Tie a knot on each side to secure the hemp.
27. Knot the end of the hemp as well.

28. FINALLY...wrap the hemp around the button to close the journal.
Ta-Da!

I'm not sure why it loaded upside down, but I can't fix it :/
29. The very last step...put a lot of heavy things on top of the journal to make it lay flat and let it set for a couple of hours.

...It's somewhere under there!
I hope that this helps you on your crafting endeavors! Please let me know any improvements I could make or if you have questions on any step.
Happy Crafting!
-Megan
This is so awesome! I have to try it! Thanks for sharing.
ReplyDeleteYou're welcome, I hope you enjoy doing it :)
ReplyDelete