Slider

Spreading Love: #InCoWriMo

Sunday, January 29, 2017


Have you noticed how much dissension, crankiness, and general meanness seems to be happening on social media lately? Or is that just me?! It makes my heart feel heavy to read so many hate filled words. In light of this, I have been wanting to challenge myself to spread love to other people in a creative way. I thought about making up my own challenge until I came across a post from BoHo Berry on Instagram about InCoWriMo...and I thought what is this weird combination of letters? I read through to her blog post and found out it stands for International Correspondence Writing Month which is in February. It's an international challenge to write one letter by hand and mail or deliver it every day in February.

I was thrilled! This was exactly what I was looking for: a way to spread more love and kindness! And it's with words, cards, and pretty mail. All things that I love! What's even better is that I have a list started of people to write cards to and a secret board called "Happy Mail" already set up! It seemed like the perfect way to show love in a way that brings joy to me and to others, because who doesn't love receiving mail?!

Interested in joining me in this challenge?? I hope you will!

The Basics of Participating:

1. Write a letter by hand (has to be by hand!) every day in February
2. Hand deliver the letter or mail it

Sounds pretty easy right? If you want all the details of what it is, how it started, or how to get an international penpal check out their site: InCoWriMo.org

Finally a use for my washi tape addiction! 
Supplies I plan on using:

-#InCoWriMo Tracker from BoHo Berry
-Cards from the Target one spot
-Washi tape
-Scrapbook paper packs
-Calligraphy pens

I have decided to make my Happy Mail board public to share my inspiration with everyone. Be sure to check it out on Pinterest here.  You can also look up the hashtag: #InCoWriMo2017 for even more inspiration and to see what other people across the world are doing during the challenge.

Of course, the letters don't have to be beautifully decorated, the words and heart behind them are what's most important. And if you are in it to spread love and kindness then it will already be beautiful.

Will you be joining #InCoWriMo2017? Let me know and we can send each other some handwritten love!


One Easy Way to Focus on Thanksgiving

Tuesday, November 15, 2016


It’s beginning to look a like Christmas everywhere I go this month! While I absolutely love Christmas (it’s my favorite holiday), I’m not quite ready for it to be here yet. I think there is a temptation once Halloween is over to jump right into the Christmas season. To begin making wish lists, to assess what we don't have and what we want. While I am still planning ahead for all the fun holiday activities, parties, and gifts, I don't want to miss out on this fall season, on the season of Thanksgiving. I wanted to do something to keep my family focused on it, to be grateful for where we are and what we have right now. I thought up a fun way that we can display what we are thankful for and I wanted to share it with you all! 

I present to you the “Thankful Tree!” This is fairly simple project and you probably have all the things you need already in your house.


Whatcha need:

-markers (black & fall colors)
-roll of kraft paper (you can get this at your local dollar store!)
-scissors
-tape


How to put it together:

  1. Cut off a piece of the kraft paper, whatever size you want. I made mine 30in by 32in to fit this space in my kitchen.
  2. Tape the kraft paper to the wall.
  3. Using the black marker, draw a tree outline, leave out the leaves.


Boom! Done, all set up. Now each day you & your family can write on the tree what you are thankful for using the fall colored markers. I had big plans of cutting out leaf shapes or writing on actually leaves, but that just didn't happen. I like how it turned out just writing on the kraft paper, especially in different fall colors! My kids love doing this and my oldest daughter likes to write out the letters for her thankful thought of the day. 


If you try it let me know! How are you trying to remain present in the Thanksgiving season?


Praying for Your Marriage

Wednesday, August 24, 2016


Getting married was a bit of a reality check for me (I wrote about that HERE.) As a newlywed, I took my complaints and whining to a wise friend and she recommended that I read the Power of the Praying Wife and that the best advice from that book was to shut up and pray. A lot easier said than done but I decided to give it a try. I needed a place to start so I looked up every verse in my Bible’s concordance that mentioned wives, love, and marriage. Then I created this list to pray over my marriage.


-Be one.
Genesis 2:24

-Honor my marriage bed and be faithful to my husband.
Hebrews 13:4

-Know the enemy of our unity, not each other but the devil.
1 Peter 5:8-9

-Rejoice in each other.
Proverbs 5:18

-Use my actions instead of words. Be free from Fear.
1 Peter 3:1-6

-Do not nag.
Proverbs 27:15

-Love.
1 Corinthians 13

-Work Hard and take care of home & children.
Proverbs 31

-Give my body freely.
1 Corinthians 7:3-5

-Be excellent.
Proverbs 12:4

-Submit as I do to Christ.
Ephesians 5:22-24

-Respect my husband.
Ephesians 5:33
1 Peter 3:1-6

-For This Life.
Romans 7:2
1 Corinthians 7:10
Matthew 22:30

I can honestly say that God has answered so many of these prayers for my marriage, that I forgot to keep praying for them. I recently found the original page I made with this list of verses and it reminded me that I need to keep praying for my marriage and my husband. Hopefully this can be an encouraging list for you as well. 


Maybe grab some friends together and make fun bookmarks for your Bibles with these verses on it as a reminder to keep praying for your marriage. It might spark some great conversations! I know it did for me and my friends. 

Helping My Kids Through Transitions

Thursday, July 21, 2016


Recently, I went back to work after staying home with my girls for the past 3 1/2 years. It is only a part-time job but it’s been a little bit of a rough transition for them since they had been used to having me around all the time. I wanted to do something special for them to know I still love them and think about them when I’m gone. I came up with a few things to help us used to me working again:

1. Before I go to work, I try to do something where I give them my full attention. The girls love to color, so we all get our coloring books and use “mommy’s special pencils.”


2. We read a book called The Kissing Hand by Audrey Penn, it’s about a little raccoon missing his mom when he goes to school. We do special goodbye kisses based on this book and it helps keep the tears at bay sometimes. 

3. I wrote them a little book about what I do at work, and how I miss them. They loved it!


Some days they still have a hard time with me leaving, but they really appreciate when I do these little things with them and remind me if I forget! 


Is there anything special you do to help your kids when they have a rough time being away from you?

Mixed Media Monday: Smash Book Embellishments

Monday, July 2, 2012

I am officially in love with smash books! I have begun adding pictures to my pre-embellished pages and I'm finding it so much easier and more fun than plain old scrapbooking! If you haven't tried smashing, I highly recommend it!

Here are some of the embellishments that I added to my baby smash book:

I cut out some tags out of pretty paper & placed them random spots.

Cute little bunting :)

The rest of her ultrasounds...I sewed them to the page so that they can be viewed in accordion style. 

Leftovers from her gender reveal party.

This was the envelope that said, "Probably a girl" for the gender reveal party so I just hole punched it right in. 


Where her little footprints will go. 

Cute tag cutouts from leftover scrap paper.

Owl cutouts made by my friends from my baby shower.

Paper doily envelope, I used this neat tutorial from Pinterest. 

Mini Paper Doilies...I have an obsession with doilies! 


Just some more paper scraps.


I had so much fun adding the embellishments because it can be whatever you want!
What would you add? :)
-Megan :)


Mixed Media Monday: Smash Book Cover

Monday, June 25, 2012

This M^3, I am going to show you how I made the cover to my baby smash book that I started last week. It was super easy and fun!

What you'll need:
-Really thick cardboard
-fabric
-pretty paper
-Mod Podge
-Awl
-box cutter
-foam brush
-heavy books
-Liquitex Matte Medium
-Paper doily
-wax paper
-Letter cut outs/stickers

1. I had to figure out the dimensions I wanted. I measured my paper that I cut out for the inside and it was 12" by 9"...so I cut out two pieces that size out of some think cardboard I had in my junk bin.

(At first I tried to use scissors....fail. Luckily I had a box cutter!)

2. I measured out where to place the holes so that it rings can be slipped into it. I did this by placing one of my papers over the cardboard and marking the holes. 


3. I picked out some pretty fabric for the cover (I love the polka dots!) and left about 2" around the each cardboard piece. 


4. I used Mod Podge and a foam brush to glue the fabric down. Make sure to press hard to get out all the air bubbles!


5. I flipped it over to glue the edge to what will be the inside cover. I trimmed some fabric off the edges so that they wouldn't get bulky by cutting a diagonal piece off. 

(If you have wet spots come through, don't worry it will dry clear!)

6. I let the covers dry for a couple of hours under some really heavy books, so that they will remain flat. 


7. After they were dry, I got started on the inside of the cover, by picking out some pretty scrapbook paper. Then I measured it to be a little smaller than the cover, so that a little of the purple polka dot fabric would show. This came out to be 11" by 8". 


8. Once I cut them out, then I used Mod Podge to glue them down. I let them dry again for another couple of hours under heavy books. 


9. Once they dried, I used the awl to poke the holes into the fabric that I made in step 2. Then I slipped the metal rings through, viola! 


10. Now I wanted to have the front cover decorated a little bit on the outside, so I glued down a paper doily for a little girly touch. I didn't really want the glossy finish of the Mod Podge so I used Liquitex Matte Medium to glue it on. I let it dry again for a couple of hours, but I put wax paper on top of it before placing books on it so it wouldn't glue to them. 


11. The next day, my friend came over with her Cricut machine and we cut out my daughter's name to go on the front... unfortunately, I don't have pictures of us in action....but here is the cover, I plan on putting her birthday on when I find out....hopefully it is sometime this week! :)


Stay tuned for next MMM....I'll show you the embleshing I did on the inside. 

If you've done any smash booking, please post links in the comments so I can see your work too! 

-Megan :) 


How People Planned Weddings without Pinterest

Wednesday, June 20, 2012

SO do you remember this website, Stumbleupon.com? I am pretty sure it's Pinterest's grandma or mother because basically you do the same thing as Pinterest....you "like" pages on the internet instead of "pinning" them to a specific board. I just remembered it last night (why? I do not know) so I logged into my old account to see what I liked I realized that I got a lot of ideas for my wedding from there! 

Which surprised me because I was complaining to my friends one day that if Pinterest was around when I got married, I would have done a lot more crafty things, but hello! I already kinda had a wedding pin board on my Stumble Upon account....so shame on me.

Anyway, I know this was really random. 

BUT! here are a few links that I used in my wedding planning if you'd like to check 'em out and kick it old school with Stumble Upon. 

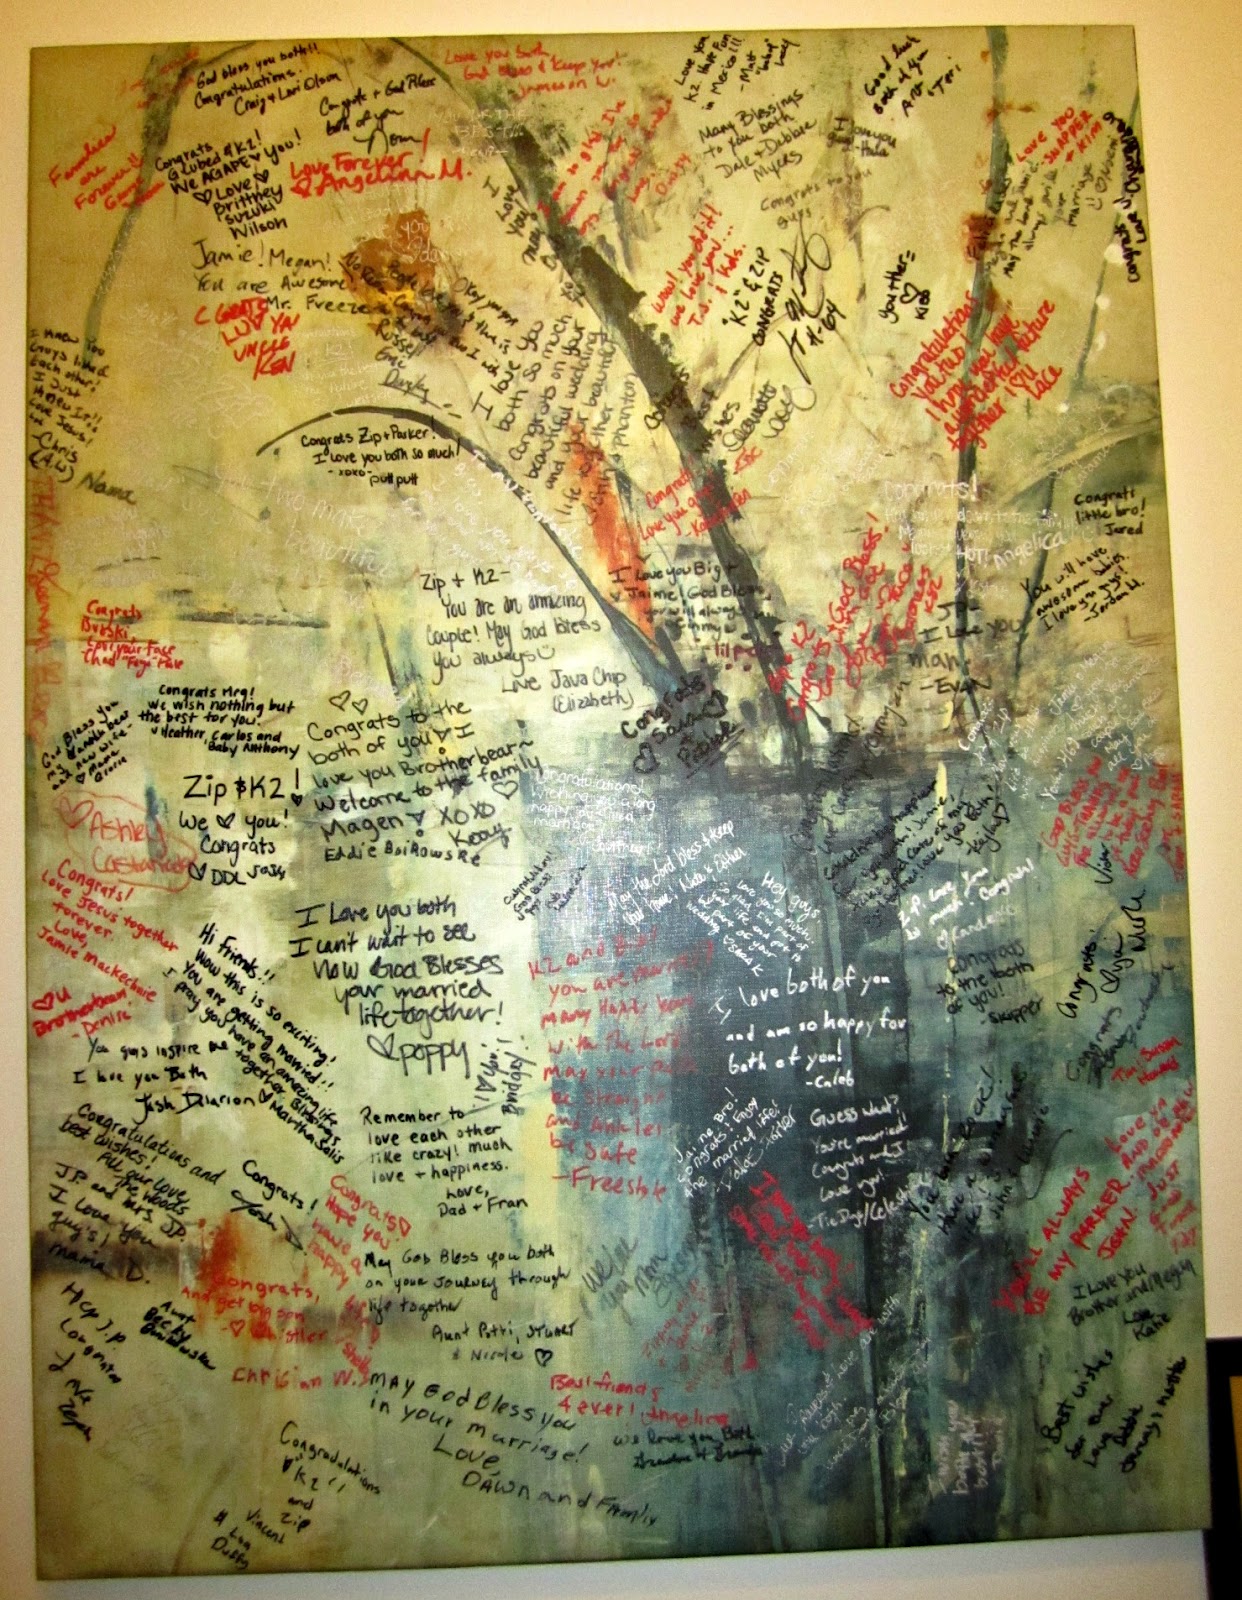
 This page inspired my guestbook. 

My actual guestbook, people still try to find their names when
they come over! 
Unique guest book idea
Taken from the link.


This wedding inspired my
 favors: little bags of coffee, I also really loved the style of this wedding! 
240_benblood2938
Taken from the link.


My actual favors

photo booth save the date card.
Taken from the link.

This
site inspired our Save the Date. 

And unfortunately....I can't find the file for our save the date...but it was cute!


We had an iPod reception. and it was the best dance party of my life! 

Photo credit: my stepdad :)
There you have it...how you can plan your wedding without Pinterest!

If you got married before the Pinterest craze...how did you plan it?

-Megan :)


Gender Reveal Party!

Saturday, April 14, 2012

So I actually had a gender reveal party back in February but I just got the pictures recently....This was my first big party that I planned. I got inspired by all the cute gender reveal parties on Pinterest, especially the one here.

Our theme was "Mustache or Bow?" and instead of going the traditional boy=blue and girl=pink, we did purple for a girl and green for a boy.


When the guests arrived, I had them wear a bow or mustache based on if they thought we were having a girl. I also had them right a little note to our baby as the guest book. 

I kept the other decorations simple with a bunting made from purple and green cards from the $1 area at Michael's. 

We made it a potluck to keep our budget small and I made rainbow chip cupcakes....the best!

So once everyone got their food and we mingled, I had one of my friends read some Old Wives' Tales to try and guess what I was having..which was really fun. It didn't really help because half said I was having a girl and half said I was having a boy.

Then we took pictures of "Team Bow" and "Team Mustache."


Team Bow :) 


Team Mustache :)


My husband was rockin' the stache!


Then came the big moment....


It's a girl! 

We had the ultrasound tech write what she thought we were having on a piece of paper and had her seal it in an envelope, then we gave the envelope to my lovely friends who took it to Party City and had them fill the box with either purple or green balloons while they went to the back of the store. So no one at our party had any idea what whether our baby was a boy or girl.

Both my husband and I were shocked because we were SO SURE that we saw boy parts on the ultrasound....but it was her umbilical cord. We are so excited for our little girl to get here! 

To thank our guests for coming we had little pots of flowers and strawberries for them to take home (which I didn't get a picture of!) and we also did a little raffle using the little flags I made for the cupcakes. I wrote a number on the back and we picked a few numbers and gave those guests gift cards to Starbucks and Jamba Juice. 

I'd say it was a success!

Here is one more fun little picture...


haha :)


-Megan :)

DIY Time: Wall Art 3

Monday, January 16, 2012

Here is the third and final installment to the wall art series :)

This last piece was a little difficult for me!

Here's the end result:


(It actually has a lot more twigs now!)

And here is how you do it:

1. Get an old frame and spray paint it


Lovely Burnt Orange


Breathing protection....don't want to harm my baby!


The ugly old frame.

2. Find some twigs!...


I found some on top of my hutch :)


3. Attach twigs to spray painted frame, once it's dry of course!


I tried using a staple gun....fail. A hot glue gun works much better!

I didn't take any pictures of me hot gluing...but I think you know how to use one ;)

Then, viola! You have a cute frame with twigs :)

Now that each piece is completed.....you have a three piece set for wall art :)


:)

-Megan :) 


CopyRight © | Theme Designed By Hello Manhattan